How to propagate orchids so you don’t have to buy them anymore
1. Start with Healthy Orchids: Choose plants with strong stems and vibrant leaves, free from pests or disease.
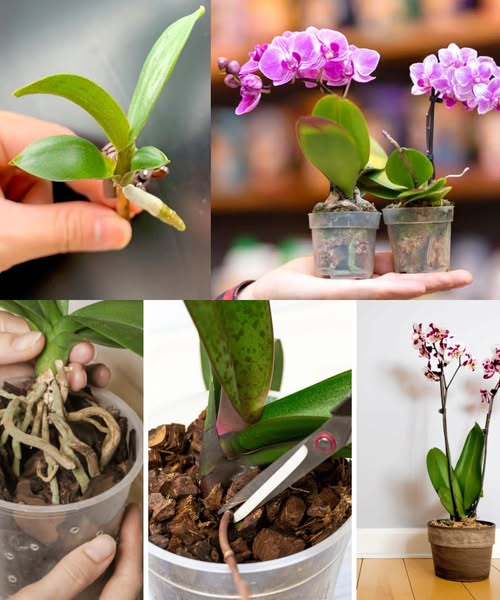
2. Pick Your Method: Decide between division, back bulbs, keiki, or tissue culture, based on your orchid species and preferences.
3. Division: Separate orchids with multiple growths into smaller sections, each with roots and leaves.
4. Back Bulbs: Detach new growths from the stem or older bulbs and pot them individually.
5. Keiki Propagation: Plant small plantlets that develop along the stem of certain orchid species.
6. Tissue Culture: Grow orchids from tissue samples in a controlled environment, commonly used by commercial growers.
7. Prepare Potting Mix: Use a well-draining mix like bark, perlite, and sphagnum moss, sterilized to prevent disease.
8. Pot the Offshoots: Plant divided sections or back bulbs in small pots at the same depth as before.
9. Provide Care: Keep newly potted orchids in bright, indirect light with consistent temperature and
humidity. Water regularly, allowing the mix to slightly dry between waterings.
10. Monitor Growth: Watch for new leaves or roots, and be patient as the new plants establish themselves.
Follow these steps, and soon you’ll have a diverse orchid collection at home, grown from your own plants.